Setting up Minecraft Servers
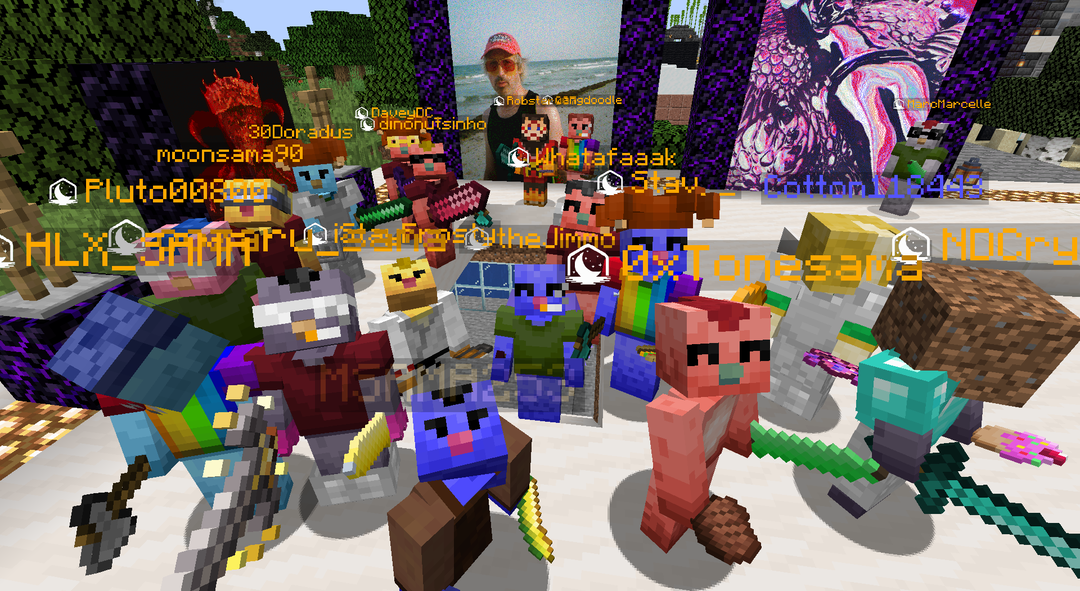
This wiki page outlines the steps for setting up available Moonsama Minecraft Servers.
Now that you are the proud owner of a Moonsama NFT, you have successfully installed Minecraft and you have your Moonsama NFT safely on the bridge... You are ready for your first Moonsama Minecraft session.
This lesson explains how you can add the various Moonsama Minecraft servers to your Minecraft installation, when this is completed you can begin!
Server Types and Addresses
| Server | Information | Server Address | In-Game Command | Wiki Article |
|---|---|---|---|---|
| Carnage | Main weekly event! | See note below 👇 | NA | |
| Townhall (Chaos) | Governance Votes, Community Calls, Pondsama access and Central Hub | mc.moonsama.com | /townhall | |
| Canary (Chaos) | Original 24/7 epic city building & land ownership24/7 epic city building & land ownership | mc.moonsama.com | /canary | |
| Academy (Chaos) | Learn about Minecraft | mc.moonsama.com | /academy | |
| Season (Chaos) | Competitive Temporal (months) sessions with rewards for advancements and competitions | mc.moonsama.com | /season |
note: server addresses are listed here
Follow these general steps for adding Moonsama server addresses:
1) Ensure you have a Microsoft account and that you have Minecraft Java version installed properly.
2) The Moonsama Minecraft servers use release 1.18.2. This release is automatically available in your MC launcher.
3) Open Minecraft Launcher (it should automatically login with your Minecraft Microsoft account):
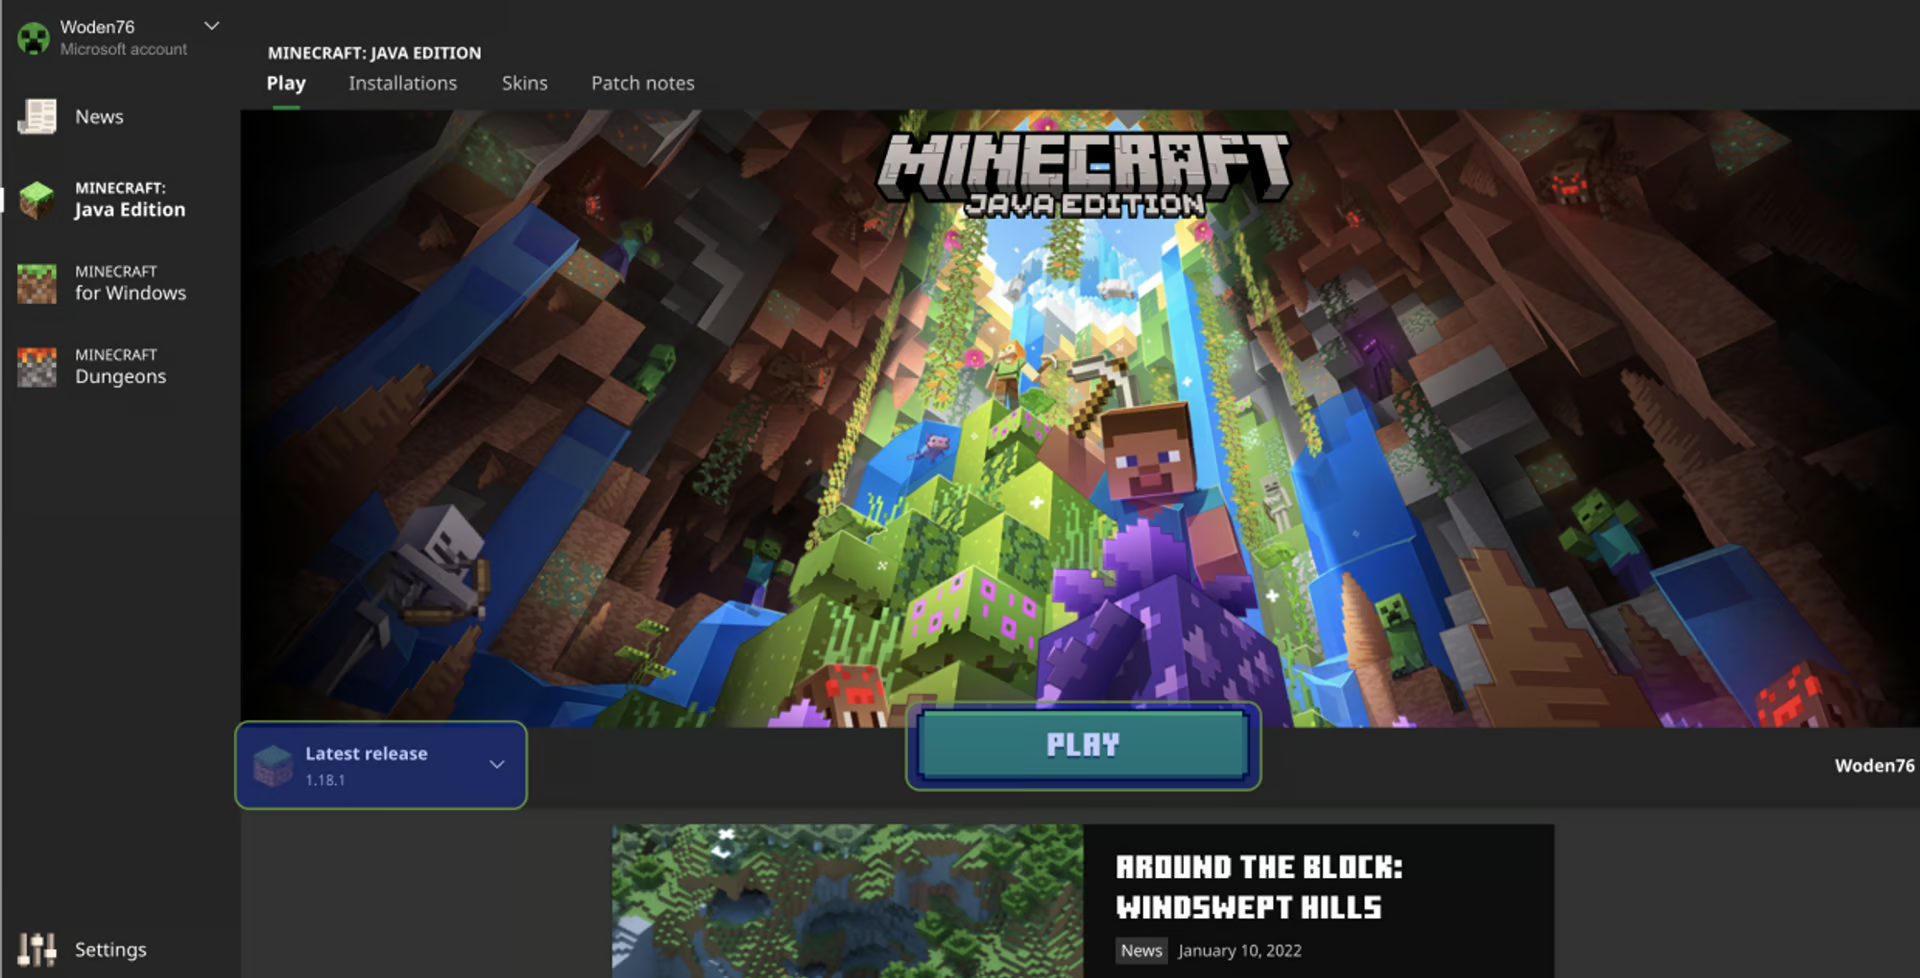
4) Initialise a game (actual working minecraft client version in example 1.18.2 you can find in Moonsama social channels), by clicking play, this leads to the following screen:
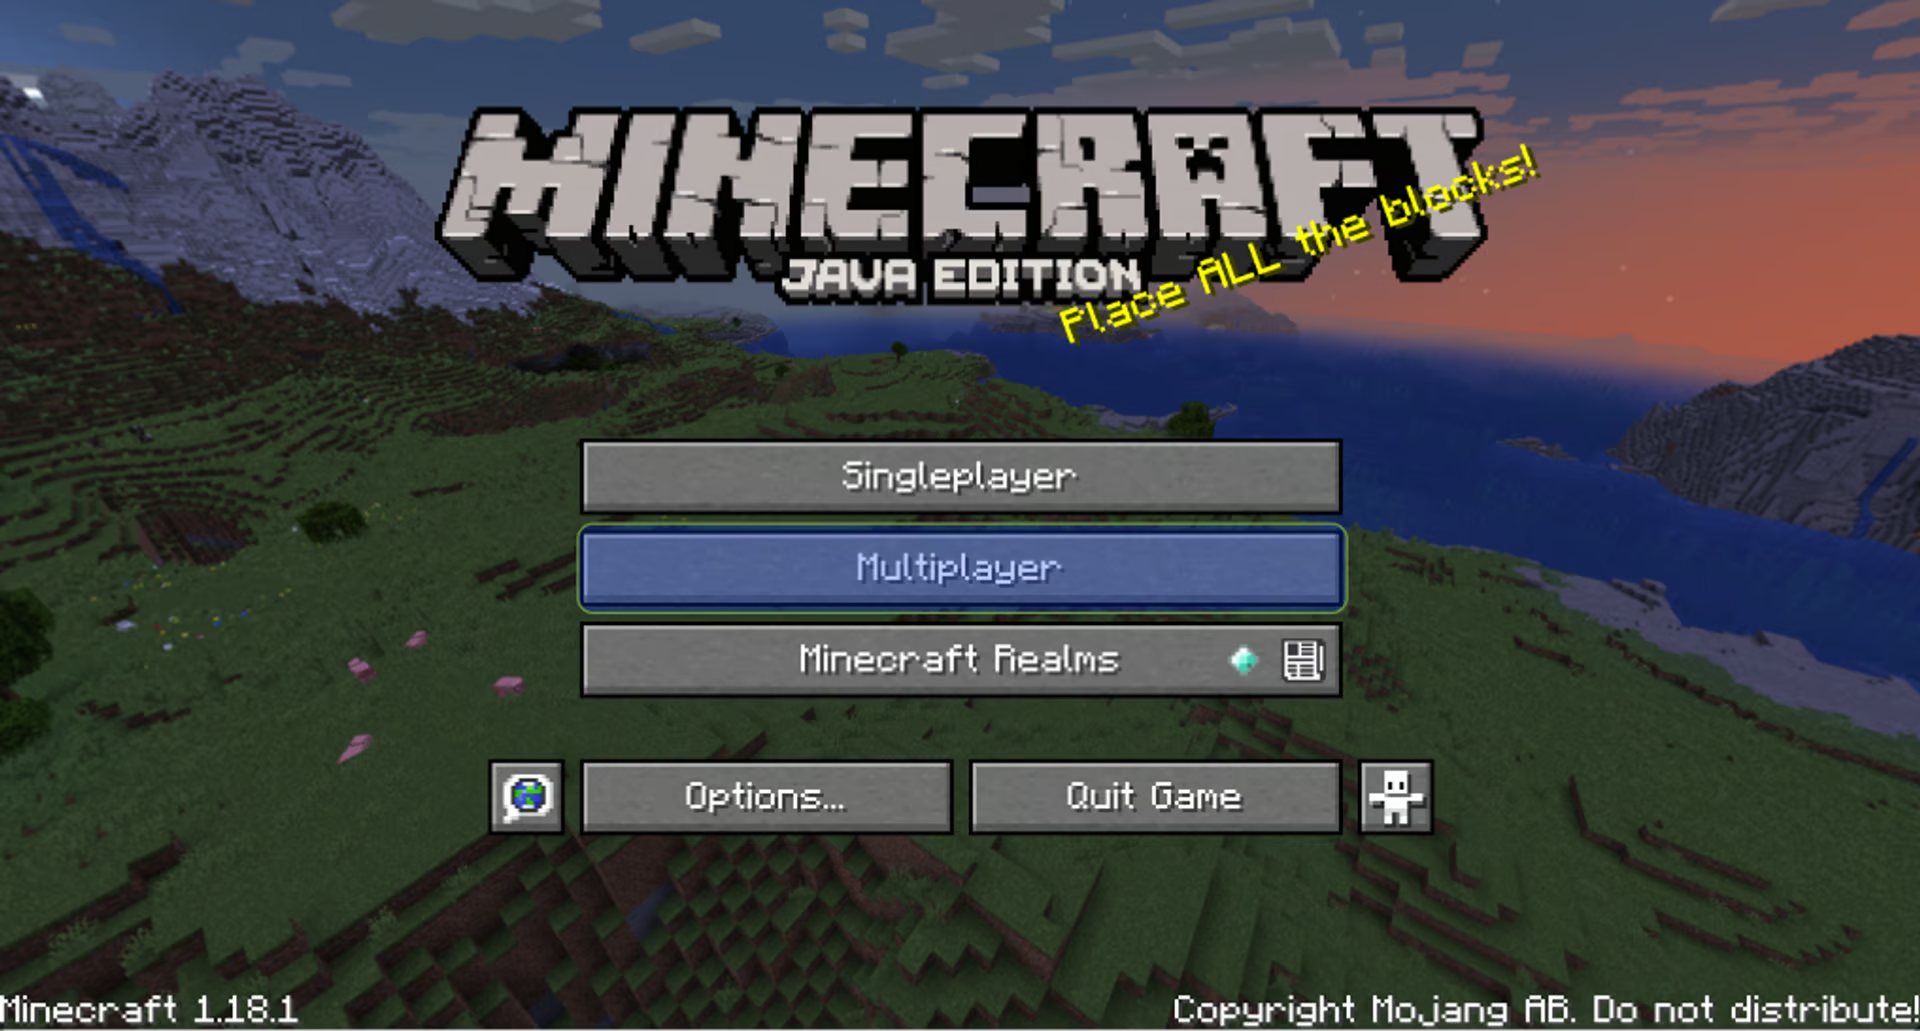
5) Select Multiplayer and click "Proceed" in the screen below:
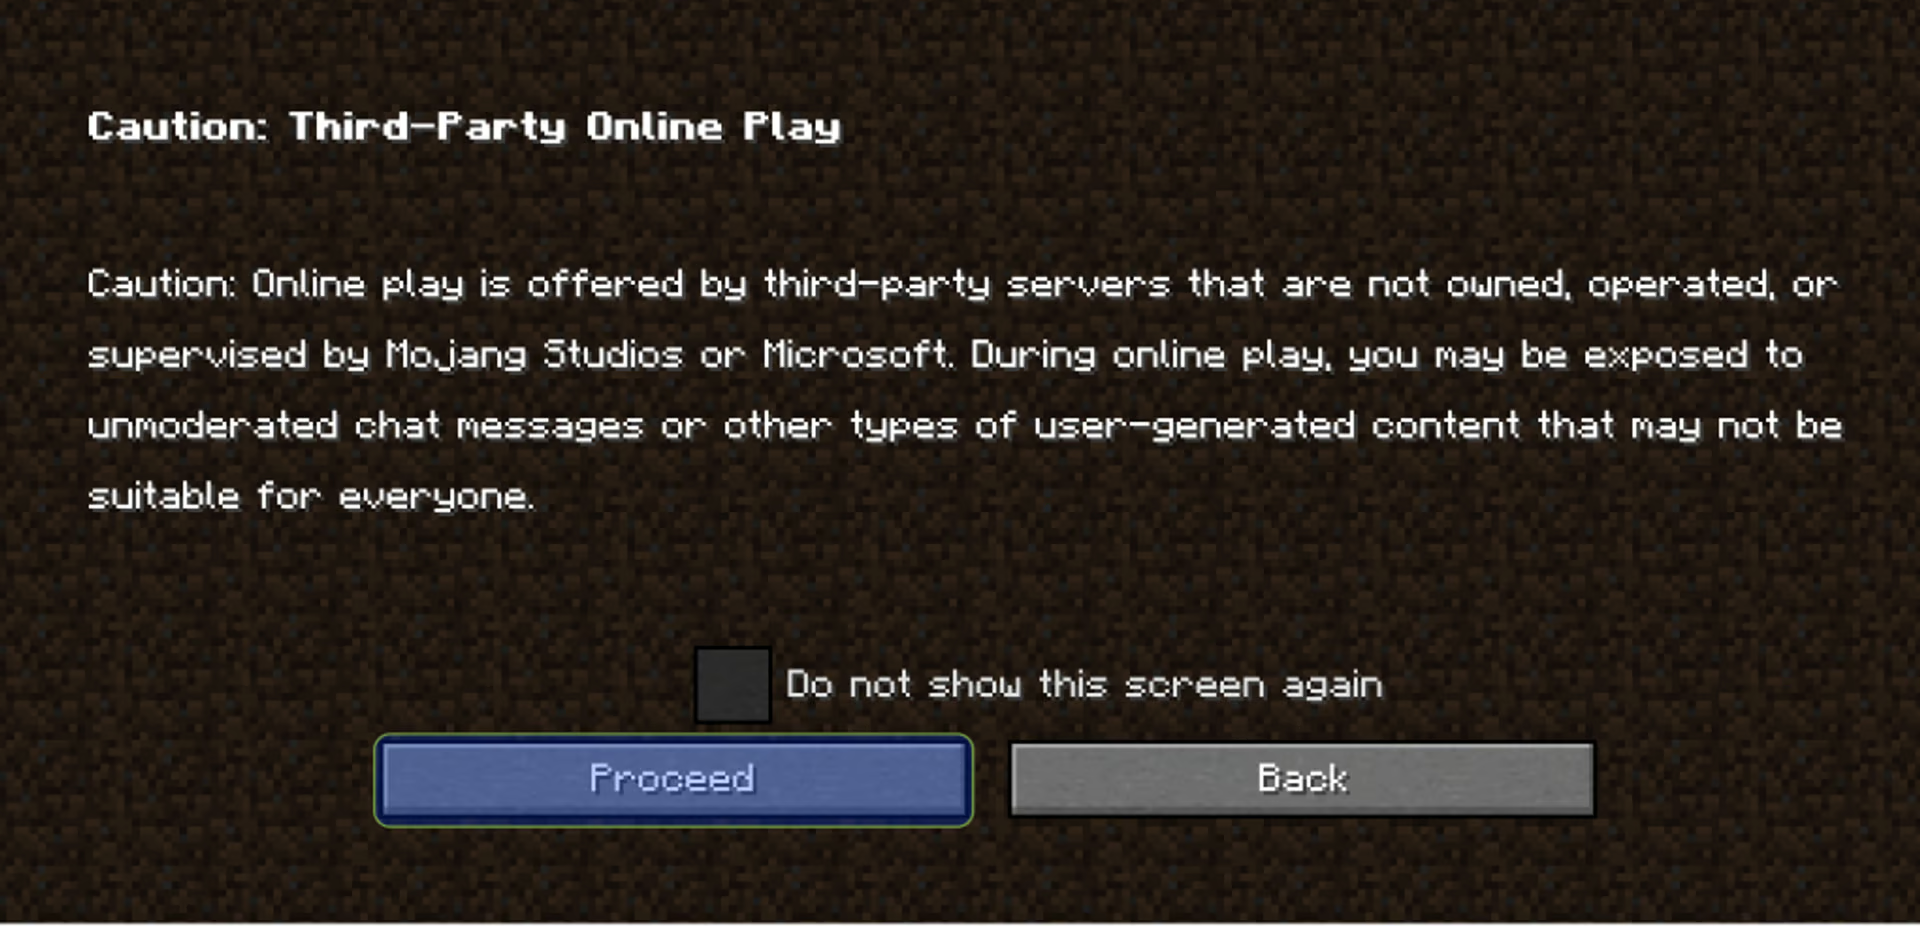
6) Now you will see the below screen, it shows all your available servers. Initially this screen will be empty.
In the example below several servers have already been added. To explain how you can add servers we will show you how the season server should be added.
At the end of this lesson all available Moonsama Minecraft servers have been listed, to add these you should follow the same process as in the following example.
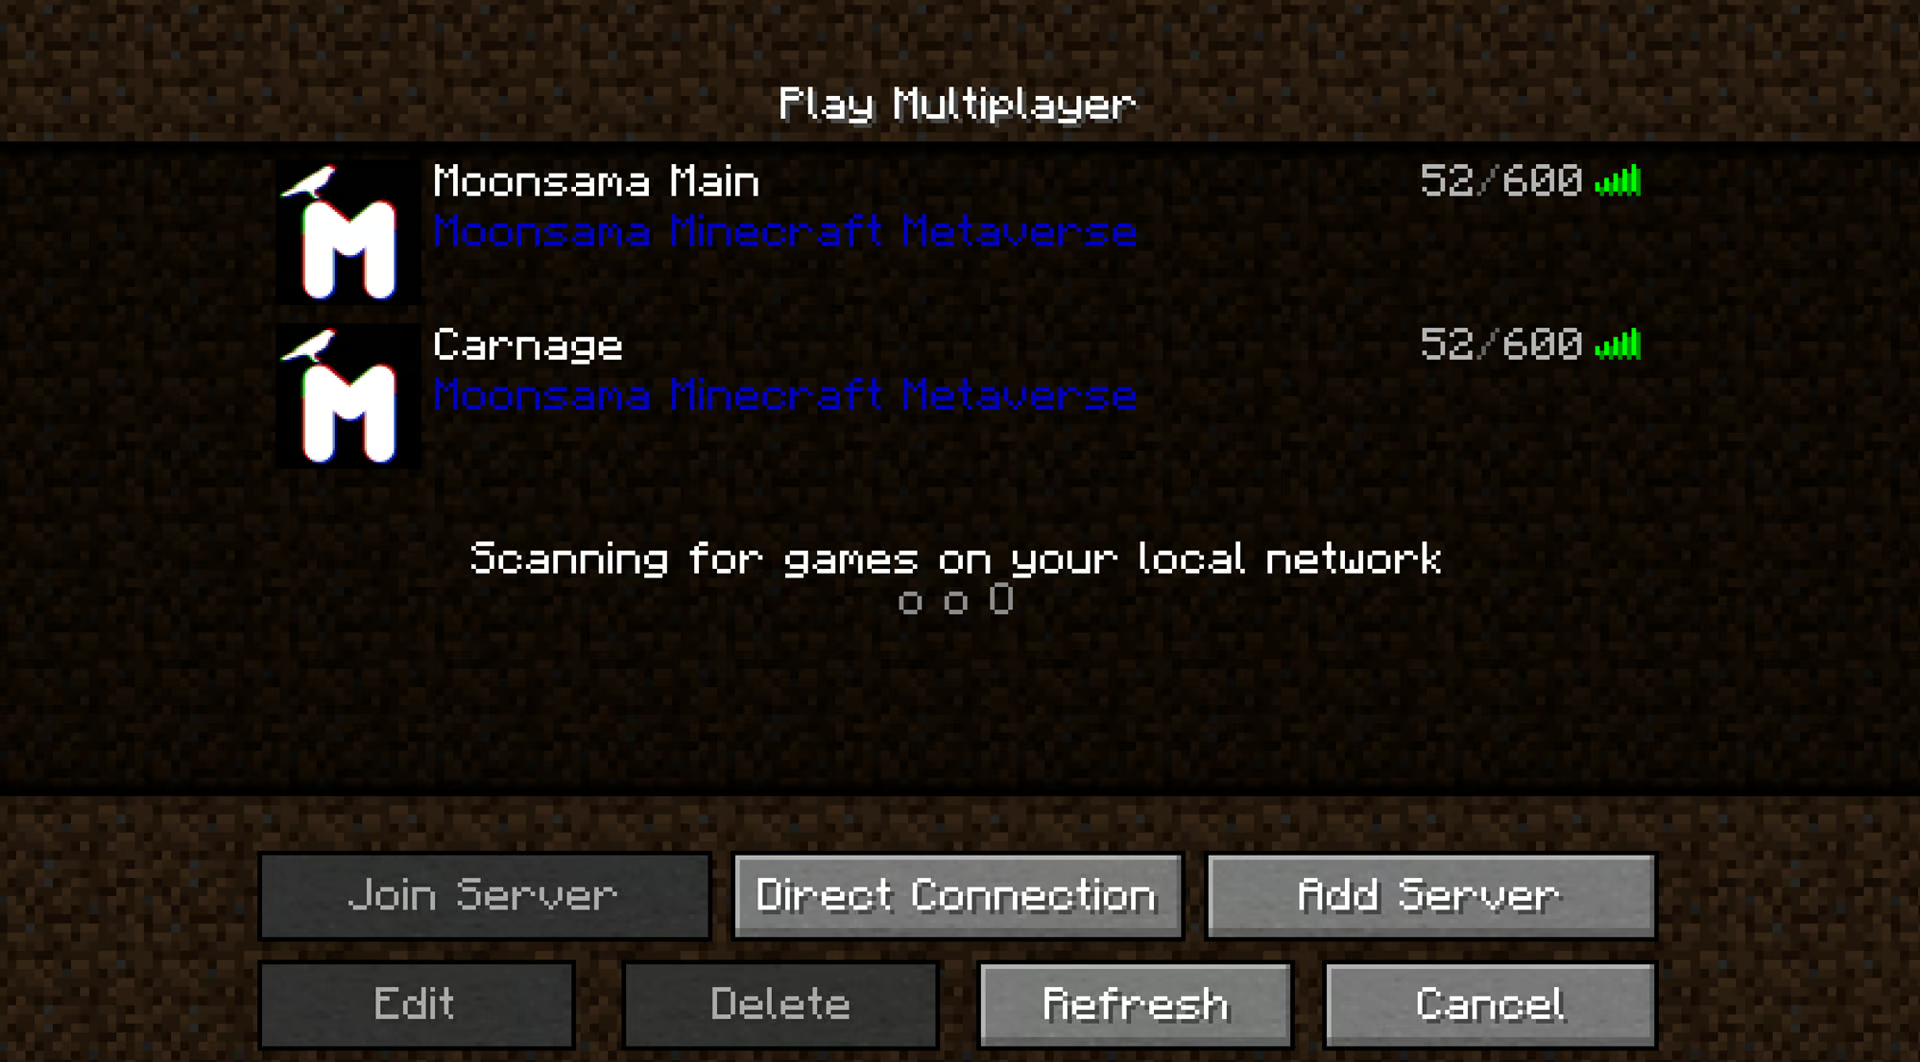
7) Click "Add Server" and:
- Give the server a specific name such as “Moonsama Main” so the purpose of the server is clear to you.
- Input the appropriate server address, in this example: "mc.moonsama.com".
- Set resource packs to "Enabled" - as shown below:
image
8) Click "Done" now you see the server in the servers overview:
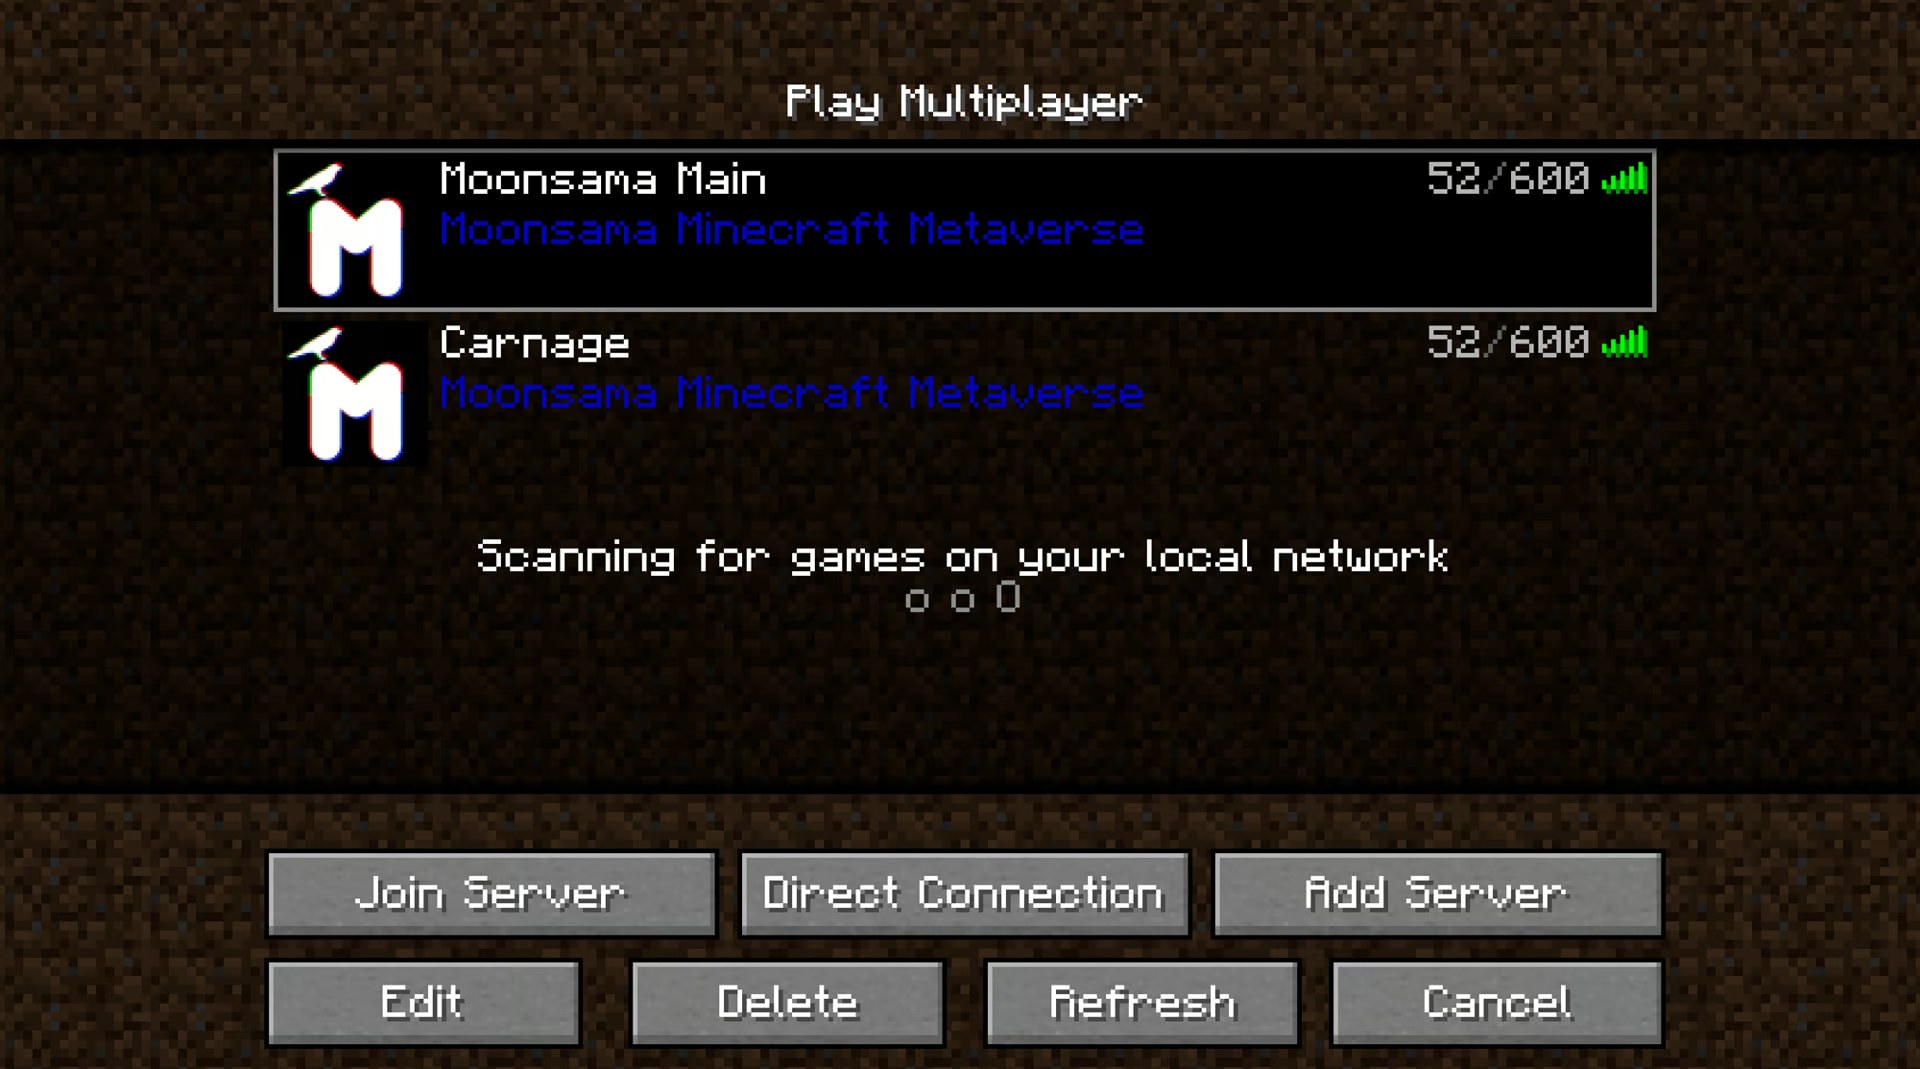
9) To start your session select the server as shown in the screenshot above and click "Join Server", now the session will start and you will begin in the lobby for Moonsama Minecraft.
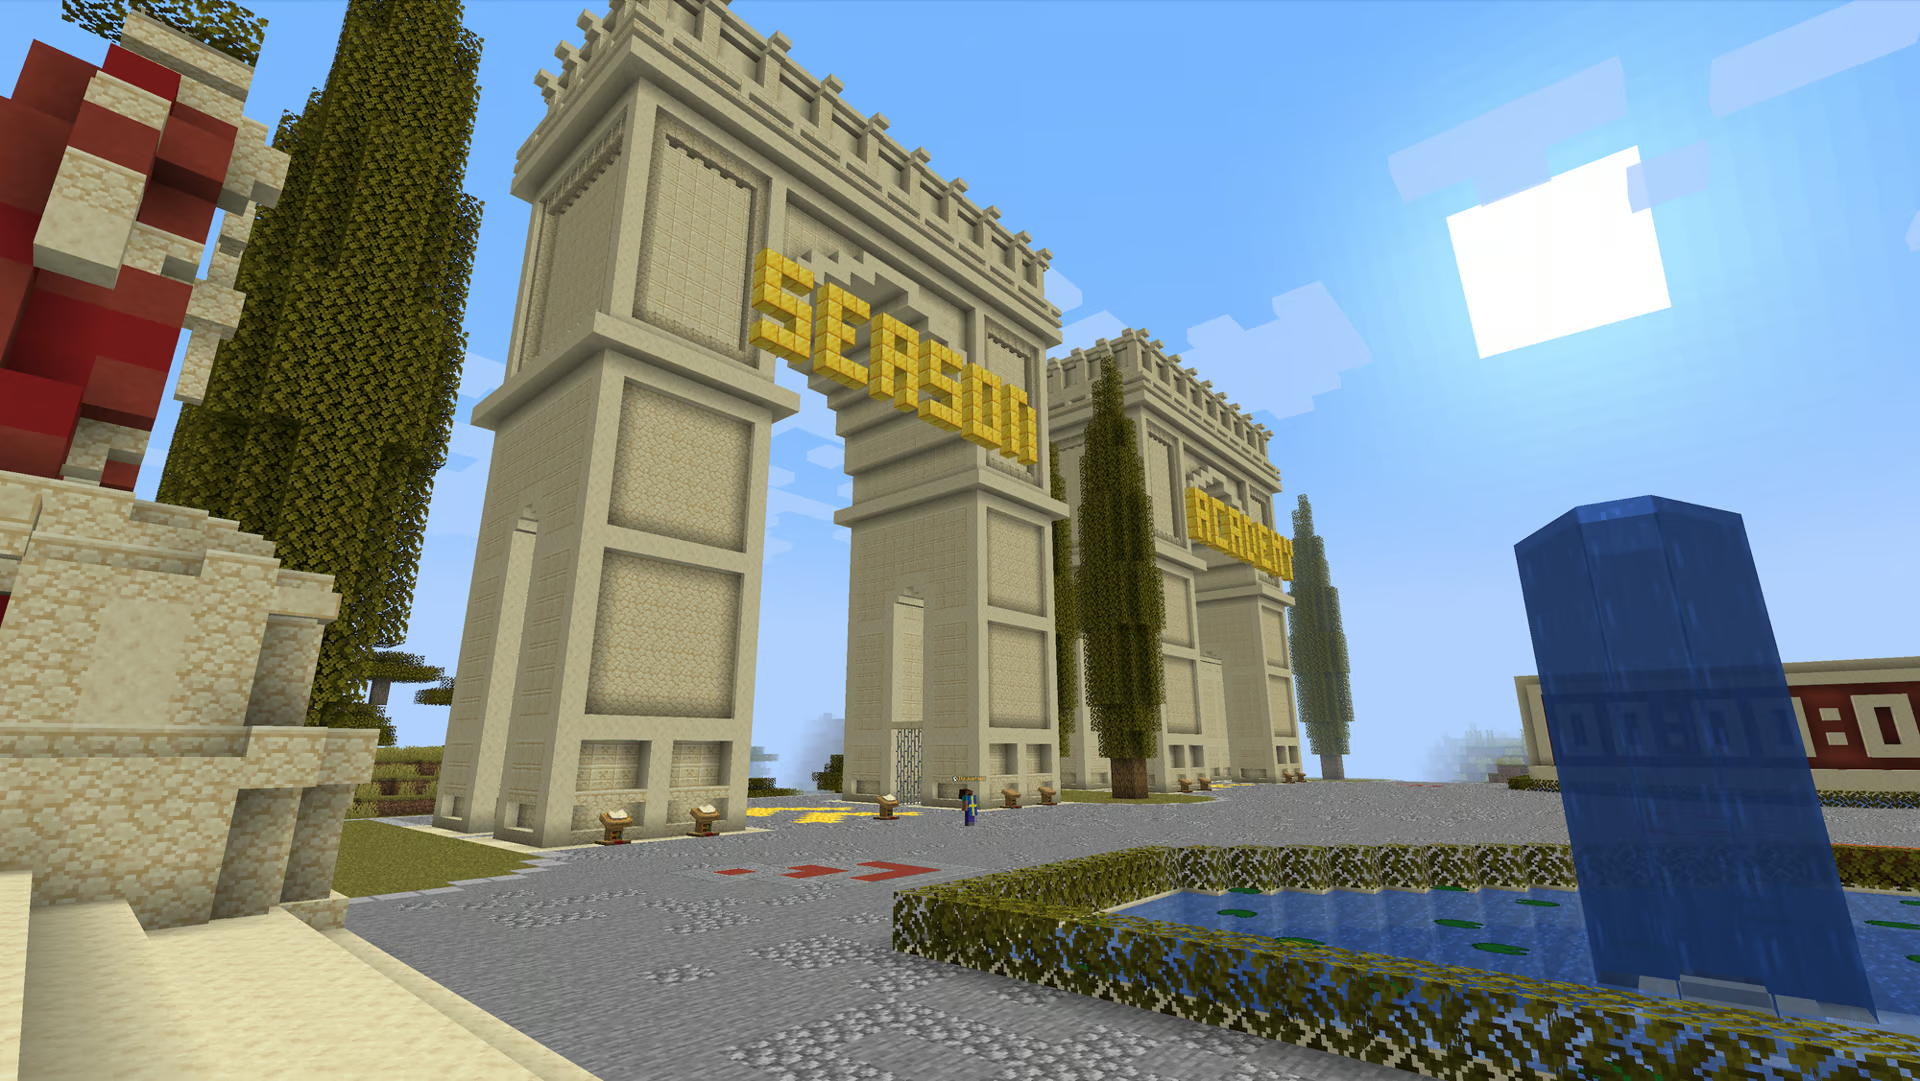
10) As can be seen in the image from the lobby below you can now select between the following servers to visit:
- townhall
- canary
- academy
- chaos
- season
/townhall
/canary
/academy
/chaos
/season
Keep in mind that you you may only play on one of these servers, attempts to circumvent this rule will result in severe penalties
